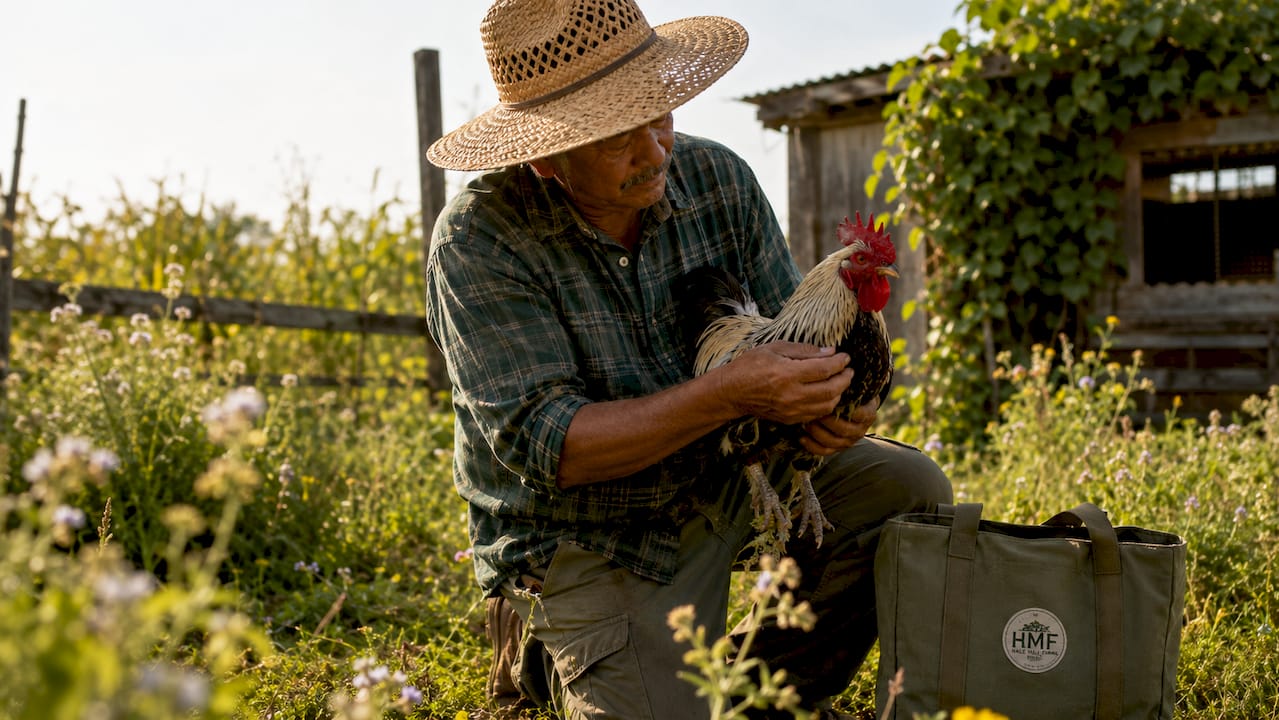
Raising meat birds on a small farm is one of the most direct paths to fresh, homegrown poultry with full control over quality and feed. The industry term for these birds is “broilers,” and modern breeds like the Cornish Cross reach a butcher weight of 5–7 lbs in just 6–8 weeks under proper care. That timeline makes small scale chicken farming surprisingly accessible, even for first-time homesteaders. We put this guide together to walk you through every stage, from choosing your breed to chilling your first bird.
What does it take to raise meat birds on a small farm?
Success with small farm poultry farming comes down to three things: the right breed, a solid brooding setup, and a consistent feeding schedule. Skip any one of those, and your flock will show it fast. The good news is that none of these steps require expensive equipment or years of experience. A well-planned first batch teaches you more than any book can.
Broilers are not the same as laying hens. They are bred specifically for rapid muscle growth, which means their needs around heat, feed protein, and space differ significantly. Understanding those differences upfront saves you from the most common beginner mistakes.

What are the best breeds for meat birds?
Breed choice shapes everything: your timeline, your feed costs, and how much daily management you need. The two most common categories for small farms are fast-growing hybrids and slower-growing heritage or ranger-type birds.
| Breed | Growth rate | Processing age | Best for |
|---|---|---|---|
| Cornish Cross | Very fast | 6–8 weeks | Confined or semi-pastured systems |
| Freedom Ranger | Moderate | 9–11 weeks | Pastured, active foraging setups |
| Rudd Ranger | Moderate | 10–12 weeks | Pastured, cooler climates |
| Heritage breeds | Slow | 16–20 weeks | Flavor-focused, sustainable farms |
The Cornish Cross is the industry standard for a reason. It converts feed to muscle faster than any other breed, which keeps costs low per pound of meat. The tradeoff is that it needs more careful management. Fast growth puts stress on the heart and legs, so strict feeding and light schedules are non-negotiable.
Freedom Rangers and Rudd Rangers are hardier birds. They forage actively, handle heat and varied terrain better, and produce meat with more flavor. They take longer and eat more feed per pound of gain, but many small farmers prefer them for pastured poultry systems where bird welfare and taste matter most. If you want to explore low-maintenance options that suit a homestead lifestyle, check out farm bird options that work well in diversified setups.
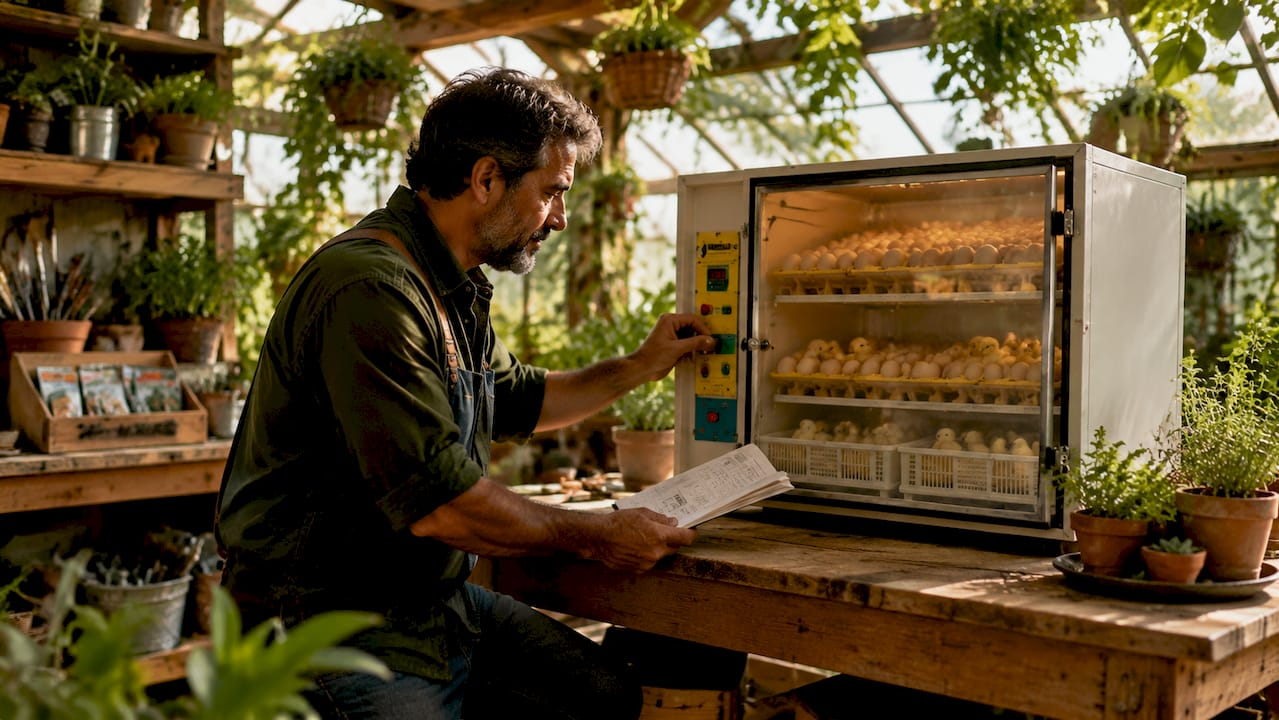
How do you set up brooding and housing for meat birds?
The brooder is where your chicks spend their first weeks of life. Get this environment right, and your birds will grow steadily. Get it wrong, and you will lose chicks to chilling, overheating, or respiratory problems.

Start your brooder temperature at 90–95°F directly under the heat source. Reduce the temperature by 5°F each week as chicks feather out. By week four, most birds are comfortable at ambient temperatures above 65°F and can transition to a coop or pasture pen.
Space matters more than most beginners expect. Brooder space starts at roughly 1/2 square foot per chick in the first week. By weeks three and four, each bird needs 1.5–3 square feet to move, eat, and stay healthy. Crowding causes stress, pecking, and disease spread.
Key brooder setup points:
- Use pine shavings as bedding. Avoid cedar, which releases oils harmful to chick lungs.
- Place feeders and waterers at opposite ends of the brooder to encourage movement.
- Keep the space draft-free but ventilated. Ammonia buildup from waste is a serious health risk.
- Use a red heat lamp or radiant brooder plate. Red light reduces pecking behavior.
- Check chick behavior, not just the thermometer. Chicks huddled under the lamp are cold. Chicks pressed to the walls are too hot. Chicks spread evenly are comfortable.
Pro Tip: Your eyes are your best tool in the brooder. Watch how chicks distribute themselves under the heat source every morning. Adjust the lamp height before you adjust the thermostat.
What feeding schedule produces the healthiest broilers?
Feed is your biggest cost and your biggest lever for bird health. Broilers eat in two distinct phases, and matching protein levels to each phase prevents both stunted growth and the metabolic problems that hit fast-growing breeds hard.
| Phase | Age | Protein level | Feed type |
|---|---|---|---|
| Starter | Weeks 1–3 | 20–24% | Crumble or mash |
| Grower/Finisher | Week 4 to processing | 18–20% | Pellet or crumble |
High-protein starter feed fuels the rapid early muscle development broilers are bred for. Dropping to grower feed after week three reduces the risk of ascites (fluid buildup around the heart), a condition common in birds pushed too hard too fast.
Broilers do best with free-choice feeding, meaning feed is available at all times. Restricting feed in Cornish Cross birds is sometimes recommended to slow growth and reduce leg problems, but this requires careful monitoring. Water access is equally critical. A broiler drinks roughly twice as much water as it eats in feed weight. Adjust feeder and waterer heights to bird back level as they grow to cut waste and keep litter dry.
Pro Tip: Wet litter is the enemy. If your waterers are spilling, raise them. Damp bedding leads to footpad burns and respiratory illness, especially in weeks 5–8 when birds are heaviest.
For a full list of feed options and supplies suited to small farm flocks, the poultry feed and supplies section at Halemalufarms is a practical starting point.
How do you manage growth stages and prepare for processing?
Weeks 6–8 are the most demanding stretch of raising broilers. Birds are at their heaviest, waste production spikes, and health problems peak in poorly managed flocks.
Watch for these health signals daily:
- Labored breathing or open-mouth panting signals heat stress or respiratory illness.
- Birds sitting constantly and reluctant to walk may have leg or heart issues.
- Pale combs or sudden deaths in otherwise healthy-looking birds can indicate ascites.
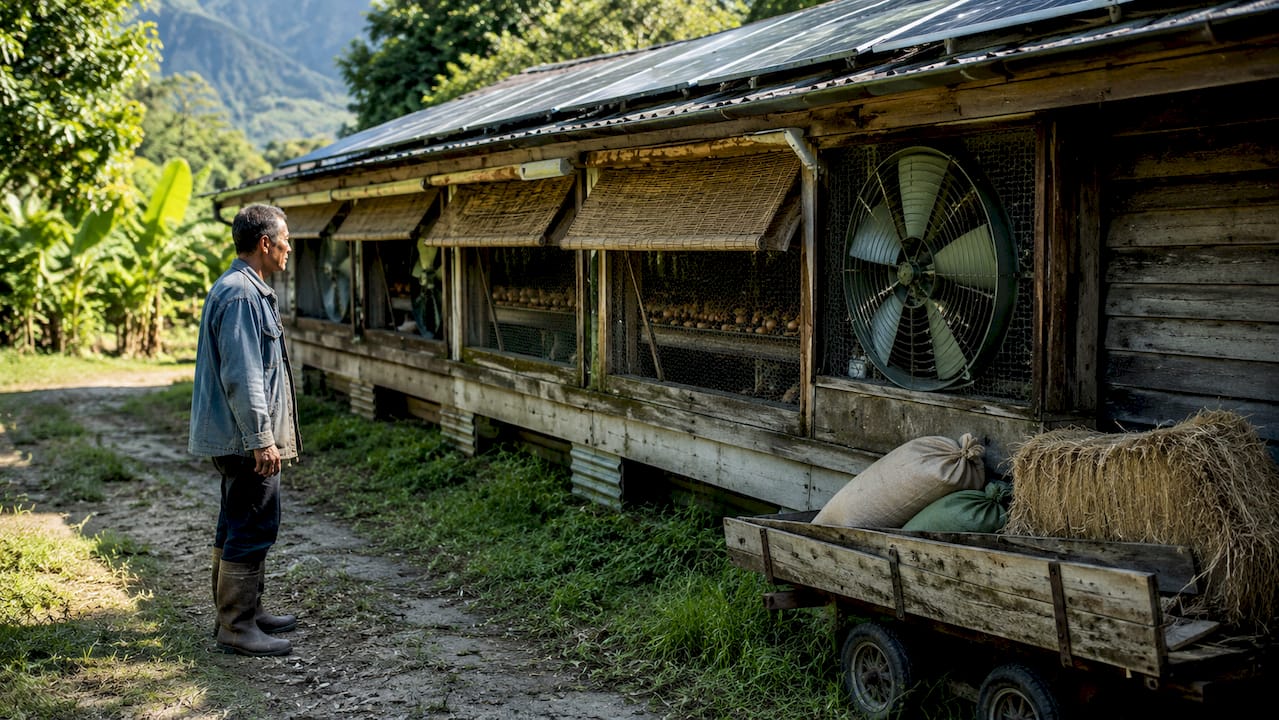
Ammonia-heavy waste builds up fast by weeks 6–8 in confined setups. Deep litter management or frequent bedding changes with pine shavings protect feet and lungs. Move birds to fresh pasture sections if you use a pastured system.
Processing steps for on-farm harvest:
- Withhold feed for 8–12 hours before processing to empty the crop and gut.
- Dispatch humanely using a killing cone and sharp knife for a clean, fast cut.
- Scald the bird at 145–150°F for 45–60 seconds to loosen feathers.
- Pluck immediately after scalding, then eviscerate carefully to avoid contaminating the meat.
- Rinse the carcass thoroughly in cold water.
- Chill in an ice water bath immediately after evisceration.
On-farm processing takes practice. Your first batch will take longer than expected. That is normal, and skill builds quickly with each bird.
Rest your meat. Chilling the carcass for 24–48 hours before freezing or cooking allows rigor mortis to pass. Birds processed and frozen immediately are noticeably tougher. This single step makes a real difference in the quality of your table bird.
If on-farm processing feels like too much for your first batch, a USDA-inspected mobile processor or local poultry processor is a legitimate option. Many small farmers use professional processing for their first one or two batches before learning the skill themselves.
Common challenges when raising broilers on a small farm
Every small farm poultry operation runs into problems. Knowing what to expect makes those problems manageable instead of discouraging.
Common issues and how to handle them:
- Overheating or chilling chicks: Adjust lamp height daily in the first week. A thermometer on the brooder floor gives you an accurate reading at chick level.
- Feed waste: Feeders filled more than halfway spill constantly. Fill to one-third capacity and refill more often.
- Wet litter: Raise waterers to bird back height. Add fresh pine shavings on top of damp spots rather than removing all bedding at once.
- Overcrowding: Crowded birds grow slower, fight more, and get sick faster. Stick to the space guidelines: 1.5–3 square feet per bird by week three.
- Disease spread: Isolate any bird showing labored breathing or unusual lethargy immediately. Clean and disinfect the brooder between batches.
Starting with 15–25 birds is the right call for beginners. That batch size gives you real experience with brooding, feeding, and processing without the financial pressure of a large flock. Experienced farmers agree: mastering a small batch first is the fastest path to scaling up confidently.
Pro Tip: Keep a simple daily log for your first batch. Note temperature, feed consumption, water intake, and any bird behavior changes. Patterns in that log will tell you what to fix before problems escalate.
Before your first chick arrives, the beginner poultry flock checklist at Halemalufarms covers everything you need to have ready on day one.
Key takeaways
Raising meat birds on a small farm succeeds when you match breed choice to your system, maintain consistent brooding temperatures, feed the right protein at each growth stage, and manage litter and space through processing day.
| Point | Details |
|---|---|
| Choose breed by system | Cornish Cross suits confined setups; Freedom Rangers thrive on pasture with active foraging. |
| Start brooder at 90–95°F | Reduce temperature by 5°F weekly and watch chick behavior, not just the thermometer. |
| Feed protein by phase | Use 20–24% starter for weeks 1–3, then switch to 18–20% grower feed through processing. |
| Rest meat after processing | Chill carcasses 24–48 hours before freezing to allow rigor mortis to pass and improve tenderness. |
| Start with 15–25 birds | A small first batch builds processing and management skills without overwhelming cost or labor. |
What raising meat birds actually taught me
kai here. My honest take after years of raising broilers is that most beginners overthink breed selection and underthink litter management. The breed debate matters, but a Cornish Cross in clean, dry bedding with consistent feed will outperform a Freedom Ranger in a damp, crowded pen every single time. The environment is the variable you control most directly.
The other thing nobody tells you upfront: processing day is harder emotionally than it is physically. The physical skill comes fast. Give yourself permission to feel the weight of it on your first batch. That feeling is what keeps you attentive and careful, and careful processing produces better meat.
I also think the 15–25 bird recommendation is not just practical advice. It is the difference between a discouraging first experience and one that builds real confidence. Small batches let you notice what went wrong and fix it before it costs you. Scale up only when your litter stays dry, your birds reach weight on schedule, and processing feels manageable. Those three signals tell you more than any checklist.
The satisfaction of pulling a bird you raised from your own freezer is real. It changes how you think about food and what self-sufficiency actually means on a farm.
— kai
Halemalufarms supports your meat bird operation
Halemalufarms has been supporting small farm poultry operations in Hawaiʻi since 2011, and we understand what homesteaders actually need when they are getting started with broilers.

Whether you are sourcing your first chicks, stocking up on starter feed, or looking for brooder supplies, Halemalufarms carries what you need. Browse our selection of heritage and hybrid chickens suited to small farm meat production, and stock your operation with quality feed and poultry supplies built for the way small farms actually work. We also have educational resources on why heritage breeds matter for farmers who want to raise birds with both flavor and long-term sustainability in mind.
FAQ
What is the fastest meat bird breed for small farms?
The Cornish Cross is the fastest-growing meat bird, reaching 5–7 lbs in 6–8 weeks. It is the top choice for small farms focused on quick turnaround and efficient feed conversion.
How much space do broiler chicks need in a brooder?
Broiler chicks need roughly 1/2 square foot per bird in the first week, increasing to 1.5–3 square feet per bird by weeks three and four. Adequate space prevents stress, disease, and slow growth.
What protein level should broiler feed contain?
Use a starter feed with 20–24% protein for the first three weeks, then switch to a grower feed with 18–20% protein through processing day. Matching protein to growth stage prevents metabolic health problems.
How long should I chill a chicken after processing?
Rest the carcass in a cold water or ice bath for 24–48 hours before freezing or cooking. This allows rigor mortis to resolve and produces noticeably more tender meat.
How many birds should a beginner start with?
Starting with 15–25 birds gives beginners enough experience to learn brooding, feeding, and processing without excessive cost or labor. Most experienced farmers recommend this batch size for a first flock.
Recommended
- Low-Maintenance Farm Birds: Top Picks for Homesteads
- Build an Automated Egg Barn for Your Small Farm
- Beginner Poultry Flock Checklist: First-Time Guide
- Benefits of Raising Backyard Ducks for Your Family
Discover more from Your Local source for all things poultry
Subscribe to get the latest posts sent to your email.